Installing Node.js
To create a React application, you first need to download and install Node.js from the official website.
Make sure to install the version appropriate for your operating system and leave all installation settings as default. Node.js is required for React development, including project building and dependency management.
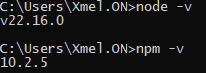
To verify that Node.js and npm were installed successfully, open CMD or PowerShell and run the following commands:
node -v
npm -v
Creating the React Project
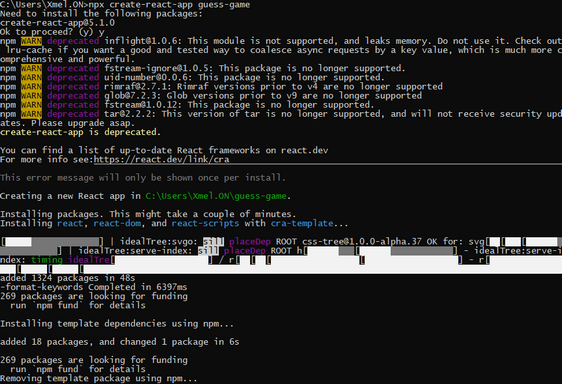
In the command line, run the following command to create a new React project (e.g., guess-game):
npx create-react-app guess-game
This will initialize and generate a new project.
Once the process is complete, you will see a message confirming that the project was created successfully.
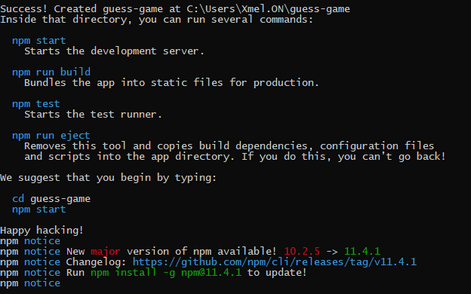
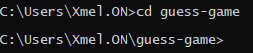
Next, move into the newly created project directory (e.g., guess-game):
cd guess-game
Preparing the Working Directory
For convenience, you can now open the project folder in Windows File Explorer. To do that, type:
explorer .
Now open the src folder — this is where the source code of your application lives.
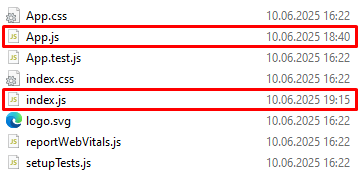
Next, you need to rename two files so they use the .jsx extension:
•Rename App.js to App.jsx
•Rename index.js to index.jsx
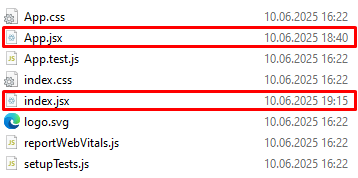
This makes it clear that the files contain JSX syntax, which is common in React projects.
Tip: If you don’t see file extensions in File Explorer, enable “File name extensions” in the “View” tab.
